Denza B5 (Bao 5) DiSus-P Hydraulic Suspension vs Standard Coil Springs: Worth Waiting for the Flagship Trim?
-
With BYD confirming that Fangchengbao models will be badged under Denza for right-hand-drive markets in Australia, New Zealand, and the UK, the big question for touring buyers is the suspension setup on the Denza B5 (Bao 5).
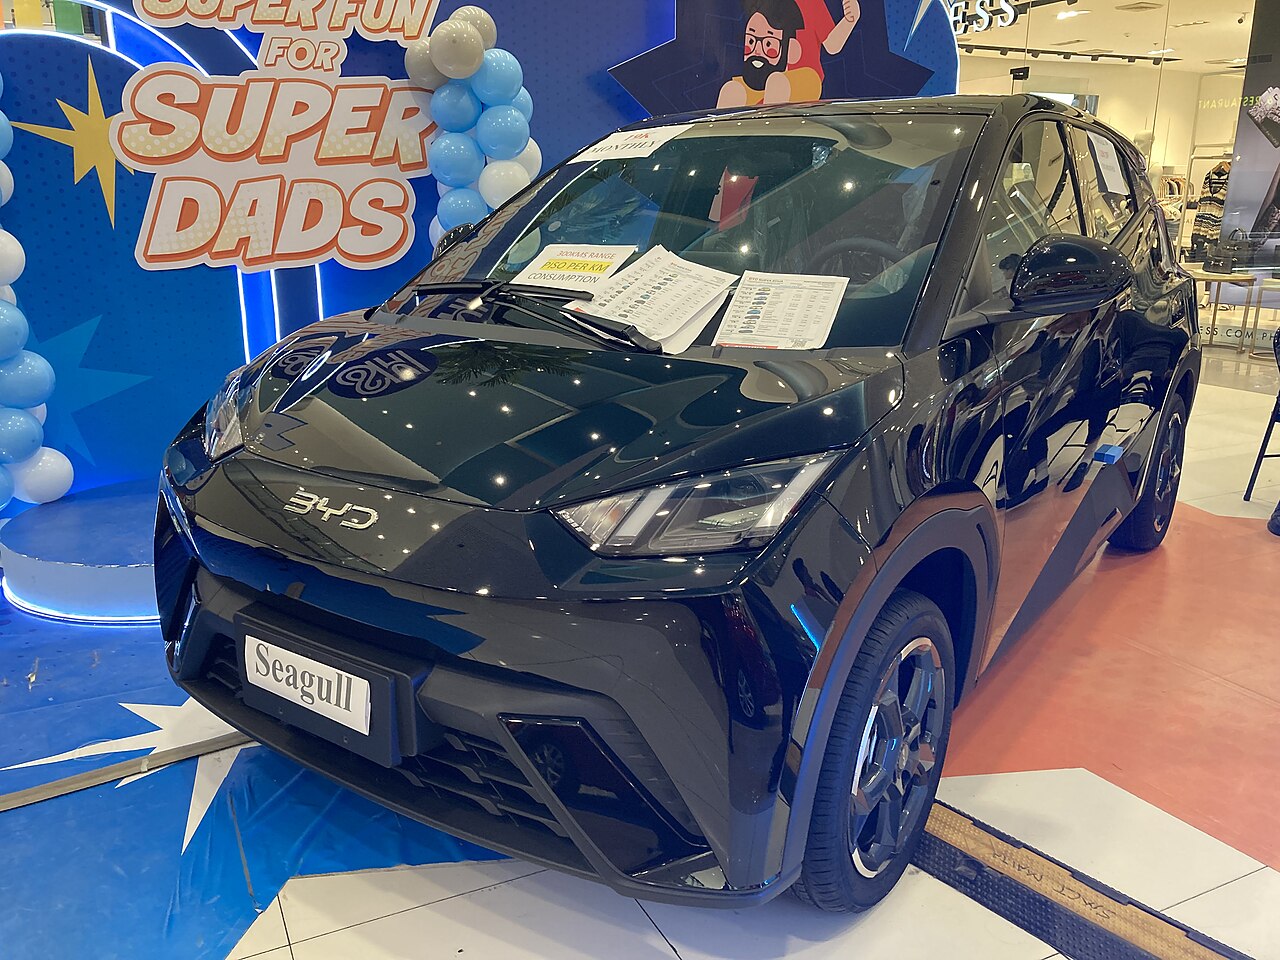
In China, the Bao 5 comes in two distinct suspension configurations:
- Standard Coil-Over Double Wishbone (fixed ride height, 220mm ground clearance).
- DiSus-P Intelligent Hydraulic Body Control System (adjustable ride height up to 310mm ground clearance, 140mm travel adjustment, and active roll stiffness control).
For anyone planning to fit a bullbar, winch, and 275/70R18 AT tyres for Simpson Desert or Kimberley corrugations:
- Does DiSus-P complicate aftermarket GVM upgrades?
- Or does the hydraulic height adjustment eliminate the need for a 2-inch aftermarket lift altogether?
-
-
If you plan on heavy outback touring, standard coils are always easier for aftermarket GVM upgrades (ARB Old Man Emu / Pedders) because hydraulic struts can't easily be swapped without triggering CAN-bus faults.
That said, I rode in a DiSus-P Bao 5 in Shenzhen last month—the way it levels the cabin over cross-axle ruts and drops 40mm on the motorway for aero efficiency is genuinely next-level, similar to LandCruiser 300 Sahara ZX AHC.
-
Keep in mind the Denza B5 also has front and rear electronic diff locks plus the "Tank Turn" (compass turn) function as standard even on the non-hydraulic model. With 505kW and 760Nm on the DMO frame, a coil-sprung B5 on 33-inch Falken Wildpeaks is going to embarrass a lot of traditional diesel wagons off-road.
-
Put my refundable expression of interest down with our local Denza/BYD dealer in Melbourne last week. They hinted the entry-level coil model will land around $74k–$78k AUD before on-roads, while the DiSus-P flagship will push mid-$80k.
-
Appreciate the honest perspective! Every EV and PHEV platform has trade-offs, and seeing real long-term feedback like this is why independent owner forums are way more useful than brochure numbers.
-
Great write-up! If anyone is on the fence, definitely take a 45-minute test drive on coarse-chip highway tarmac first — the acoustic glass makes a bigger difference than the spec sheet suggests.
-
Interesting point about the charging curve. I found that plugging in around 15–18% SOC gives the fastest sustained peak kW before the BMS gently tapers above 80%.
-
Great real-world data. Having proper owner telemetry instead of brochure claims makes configuring the car so much easier.
-
Followed this guide step-by-step in the garage this afternoon—took less than 20 minutes and worked first time without any warning lights.
-
Can confirm the latest DiLink OTA firmware smoothed out the power delivery curve and improved wireless CarPlay reconnection speed noticeably.
-
Thanks for sharing the real-world numbers! Dealers rarely explain this clearly during handover, so having verified owner telemetry on the forum saves everyone a lot of guesswork.
-
Spot on regarding cold tyre pressures and regenerative braking calibration—smooths out low-speed town driving immediately.
-
I ran the exact same test last month on a rainy weekend trip. Regen braking in High mode remained super predictable, and the LFP pack voltage delta stayed under 12 mV on my OBD2 scanner.
-
@Trevor_B_Sealion7 Appreciate you sharing the exact numbers and settings here—so much clearer than the generic info in the owner's manual!


Hello! It looks like you're interested in this conversation, but you don't have an account yet.
Getting fed up of having to scroll through the same posts each visit? When you register for an account, you'll always come back to exactly where you were before, and choose to be notified of new replies (either via email, or push notification). You'll also be able to save bookmarks and upvote posts to show your appreciation to other community members.
With your input, this post could be even better 💗
Register Login